

If a photo of a narrow ridge makes your stomach drop, the hills can feel like they’re not really for you. They are. You just need to be able to pick the right ground.
Here’s the short answer on finding hill walks without exposure. Exposure isn’t about how high the hill is, it’s about how steep the ground is immediately beside your path, and you can read that off an OS map before you leave the house. Look at contour spacing on both sides of the route, not just along it. Wide spacing means a broad, comfortable line. Tight contours squeezing in from both sides means a ridge.
In this guide we’re going to look at what exposure actually is, why photographs and route descriptions keep letting you down, and how to spot the comfortable ground on a map yourself.
What “Exposure” Actually Means
This word gets used constantly and almost never explained, which is unhelpful when it’s the exact thing you’re worried about.
Exposure is about consequence, not altitude. It describes ground where a slip would matter, because the slope beside you falls away steeply for a long way.
That’s why height alone tells you nothing useful. You can stand on a broad summit at 900 metres feeling completely settled, because the ground rolls gently away in every direction. You can also feel genuinely unpleasant on a narrow path at 300 metres with a steep drop a metre to your left.
It isn’t the number on the map that unsettles you. It’s what’s beside your boots.
The good news is that this is a property of the terrain, and terrain is exactly what a map describes.
Why Photos and Route Descriptions Let You Down
Most people research a walk by looking at pictures. It’s a reasonable instinct and it’s a poor tool for this particular job.
Photographers choose the dramatic spot. Someone walks a gentle five-mile route, finds the one rocky outcrop with a view down, and photographs from there. That image then represents the whole walk. It isn’t lying, it just isn’t representative.
Route descriptions use language that means nothing consistent. “A little airy.” “Some scrambling.” “Care needed in places.” Those exact phrases get used for ground a nervous beginner would walk without noticing, and for ground that would stop them dead.
And other walkers are calibrated differently to you. Ask on a forum and you’ll get honest answers from people whose sense of what’s comfortable is nothing like yours. Someone who scrambles regularly genuinely does not notice ground that would stop you dead.
The clearest example of this is Catbells. It is probably the most recommended beginner’s fell in the country, it appears on every easy-walks list, and it has a short hands-on step and a narrow crest near the top. Plenty of people are completely fine on it. Plenty of others get there and find it’s more than they wanted. Neither group is wrong, and no amount of reading was going to settle it for either of them.
None of these sources are dishonest. They’re just not measuring the thing you need measured.
The map is, and it doesn’t have an opinion.
How to Spot Exposure on a Map Before You Go
Right, this is the useful part. Four things to look at, in this order.
Never Feel Lost Again: The Free UK Navigation & Safety Pack
Stop relying solely on a fragile phone battery. Download the exact tools a professional outdoor instructor uses to stay safe in the British hills.

Enter your email below to get instant access to:
- NEW: The Hike Planning & Safety Checklist: A comprehensive pre-walk checklist to ensure you never leave a critical item behind or rely purely on a smartphone.
- The Emergency Protocol Guide: A highly structured, zero panic system detailing exactly what to do if lost on Dartmoor/Scottish hills, including when and how to call Mountain Rescue.
- The OS Map & Navigation Cheat Sheet: A quick reference guide to decoding complex map symbols and plotting grid references when your mind goes blank.
- The Route Card Template: The exact, logic-driven framework I use to plan foolproof expeditions and identify safe escape routes before leaving the house.
- The Timing Crib Card: Never misjudge daylight again. Master the mathematics of measuring pacing distance and timings for steep ground.
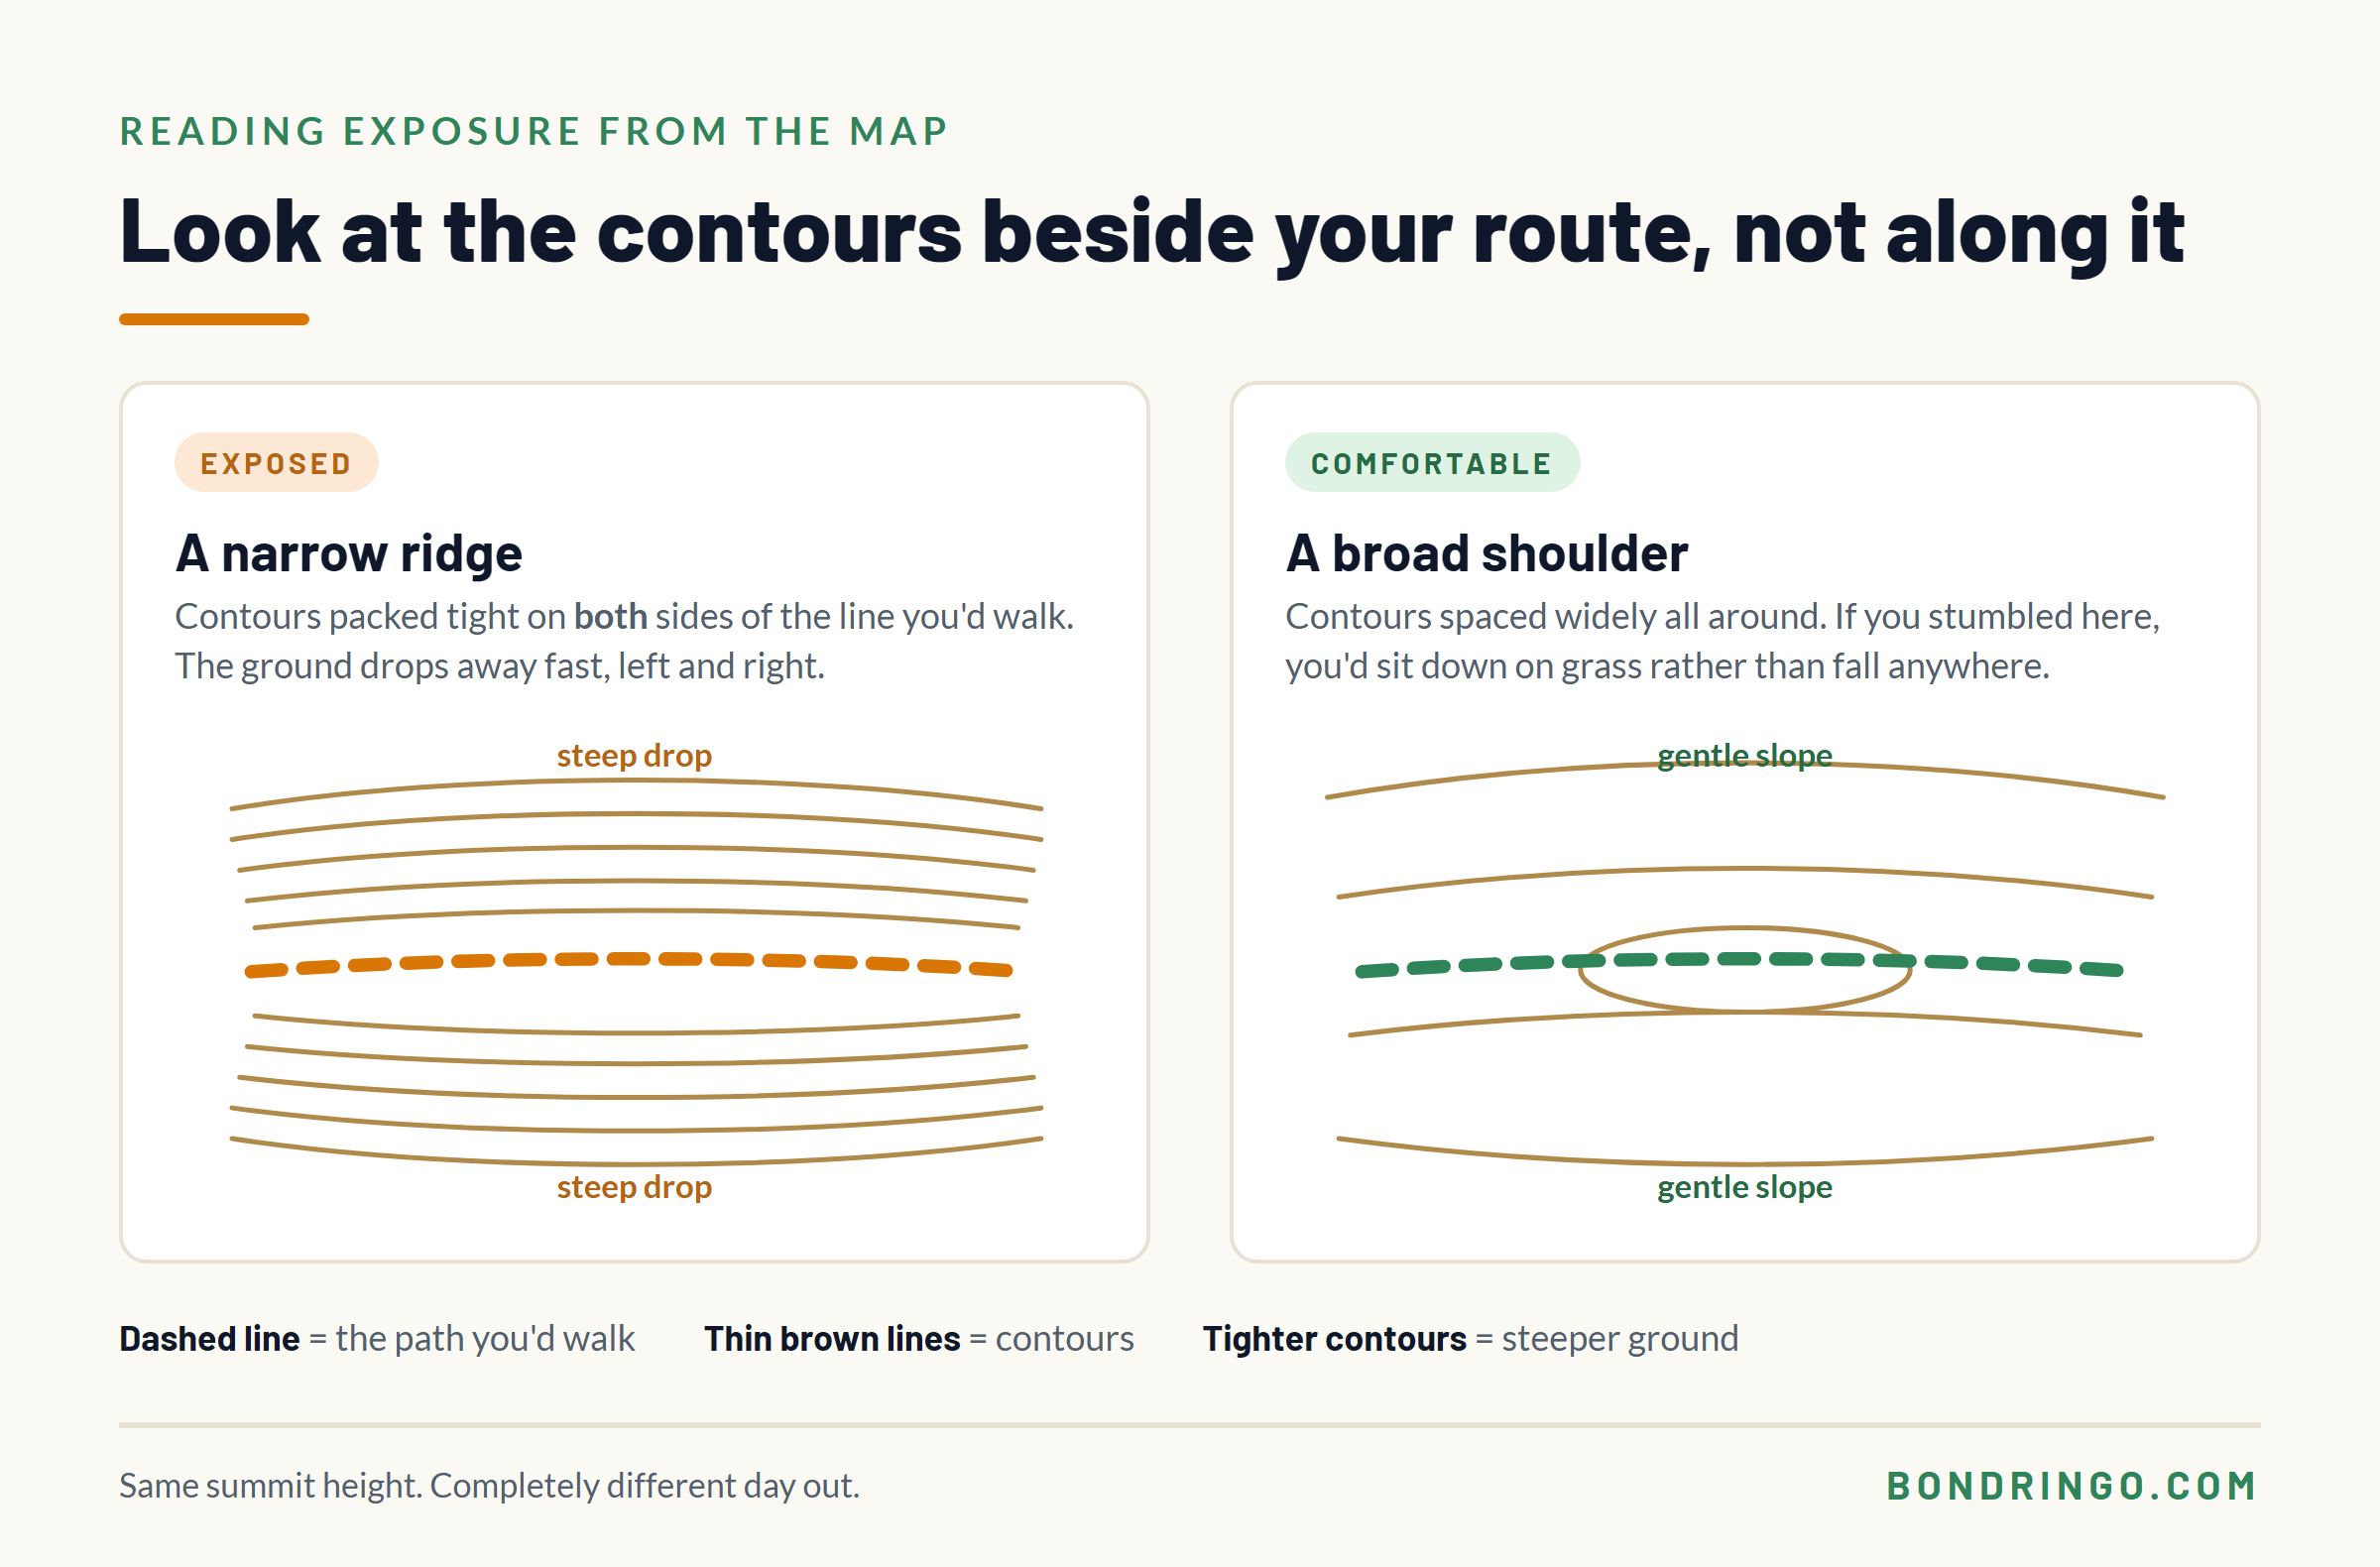
1. Look at contour spacing beside your route, not along it
Most people read contours to work out how much climbing they’ll do. That means they read the contours their route crosses.
For exposure, you want the opposite. Look at the ground either side of the line you’ll be walking.
Widely spaced contours next to your path mean gentle slopes falling away. If you stumbled, you’d sit down on grass. Contours packed tightly right up against the path mean the ground drops fast, and that’s what produces the feeling you’re trying to avoid.
2. Learn to recognise a ridge on the map
A ridge shows up as two sets of contour lines running roughly parallel along either side of a high line, packed close together, with the ground falling away in opposite directions.
If your route follows that line, you’re on a ridge, and a ridge with closely spaced contours on both flanks is the definition of exposed ground.
Broad ridges are fine. It’s the narrow ones, where the tight contours nearly meet, that give you the drop on each side.
3. Look for crag and rock symbols
OS maps mark steep rocky ground directly, and scree, boulders, outcrops and cliffs each have their own symbol. If you’re not certain what you’re looking at, the legend on the map spells them out.
If your path threads between crag symbols, expect steep ground close by. If your path stays well clear of them, that’s a good sign.
4. Check which side of the steep ground the path sits on
This one catches people out. A path can run near a steep face and still feel fine if it sits back from the edge on flat ground.
Look at where the path line sits relative to the tight contours. Comfortably inside them is a very different day out from balanced along the top of them.
The Shapes That Tend to Feel Comfortable
Once you’re reading the map this way, some patterns come up again and again. I’d rather teach you the shapes than hand you a list of ten walks, because the shapes work anywhere in the country and a list only works until you’ve done it.
Look for:
Broad rounded summits. Contours spaced widely and evenly all the way round the top. The Cheviots and the Howgill Fells are made almost entirely of this shape, and so are a lot of Lakeland fells that get overlooked in favour of the dramatic ones. Skiddaw, Latrigg, Loughrigg and High Street all have broad, grassy tops.
In Snowdonia, the Carneddau are grassy rounded whalebacks sitting immediately next to Crib Goch and Tryfan, which tells you how little a region’s reputation predicts about any particular hill. Worth knowing that the Carneddau have big cliffs on their southern and eastern flanks, so it’s the tops that are gentle rather than every aspect of them.
Plateaus and wide shoulders. Large areas of very widely spaced contours. Dartmoor, Exmoor and the North York Moors are the obvious ones, along with the Dark Peak plateaus of Kinder Scout, Bleaklow and Black Hill.
One important caveat with the Dark Peak. The plateaus themselves have very little to fall off, but the gritstone edges around them absolutely do, and Kinder in poor visibility is one of the harder navigation jobs in England. Low exposure and easy are not the same thing, and this is the clearest example of the difference.
Valley and reservoir routes. The steep ground is above you rather than beside you, which is a completely different feeling. Ladybower and Derwent in the Peak District, the Elan Valley in mid Wales, Haweswater and Ennerdale in the Lakes.
Forest and estate tracks. Wide, graded surfaces built for vehicles, so the walking line usually sits well back from any edge, and the trees take away the sense of open space that bothers a lot of people. Whinlatter and Grizedale in the Lakes, Gwydir Forest in north Wales, Kielder and Galloway Forest Park further north. Check the map anyway, because a track cut into a steep hillside can still have a drop below it.
Old drove roads and packhorse routes. These were built for animals carrying loads, which means gentle gradients and sensible lines. Mastiles Lane and the Cam High Road in the Yorkshire Dales are good examples, as is the old Corpse Road above Haweswater.
And don’t write off the lower hills. The Malvern Hills give you a proper ridge walk with views both ways and nothing to fall off, and the Long Mynd has a broad plateau top, though its flanks drop into steep-sided batches.
One Range, Three Different Answers
If you want proof that a region tells you nothing, look at the Yorkshire Three Peaks. Three hills, same national park, often walked in a single day, and they are not the same proposition at all.
Whernside is a long broad ridge. You walk up one side of it and along the top, and there is nothing beside you that falls away sharply.
Ingleborough has steep flanks, but the summit itself is a wide flat plateau. The steepness is in the climb rather than beside the path once you’re up.
Pen-y-ghent has a short hands-on step near the top where you’ll be using your hands on rock with the ground dropping away below you. It’s brief and thousands of people do it every year. It is also, for some people, exactly the thing they were trying to avoid.
Same range, same day out, three different answers. That’s why the map matters more than the reputation.
What Makes Exposure Feel Worse Than It Is
The same path can feel completely different on two different days, and it’s worth knowing what’s driving that.
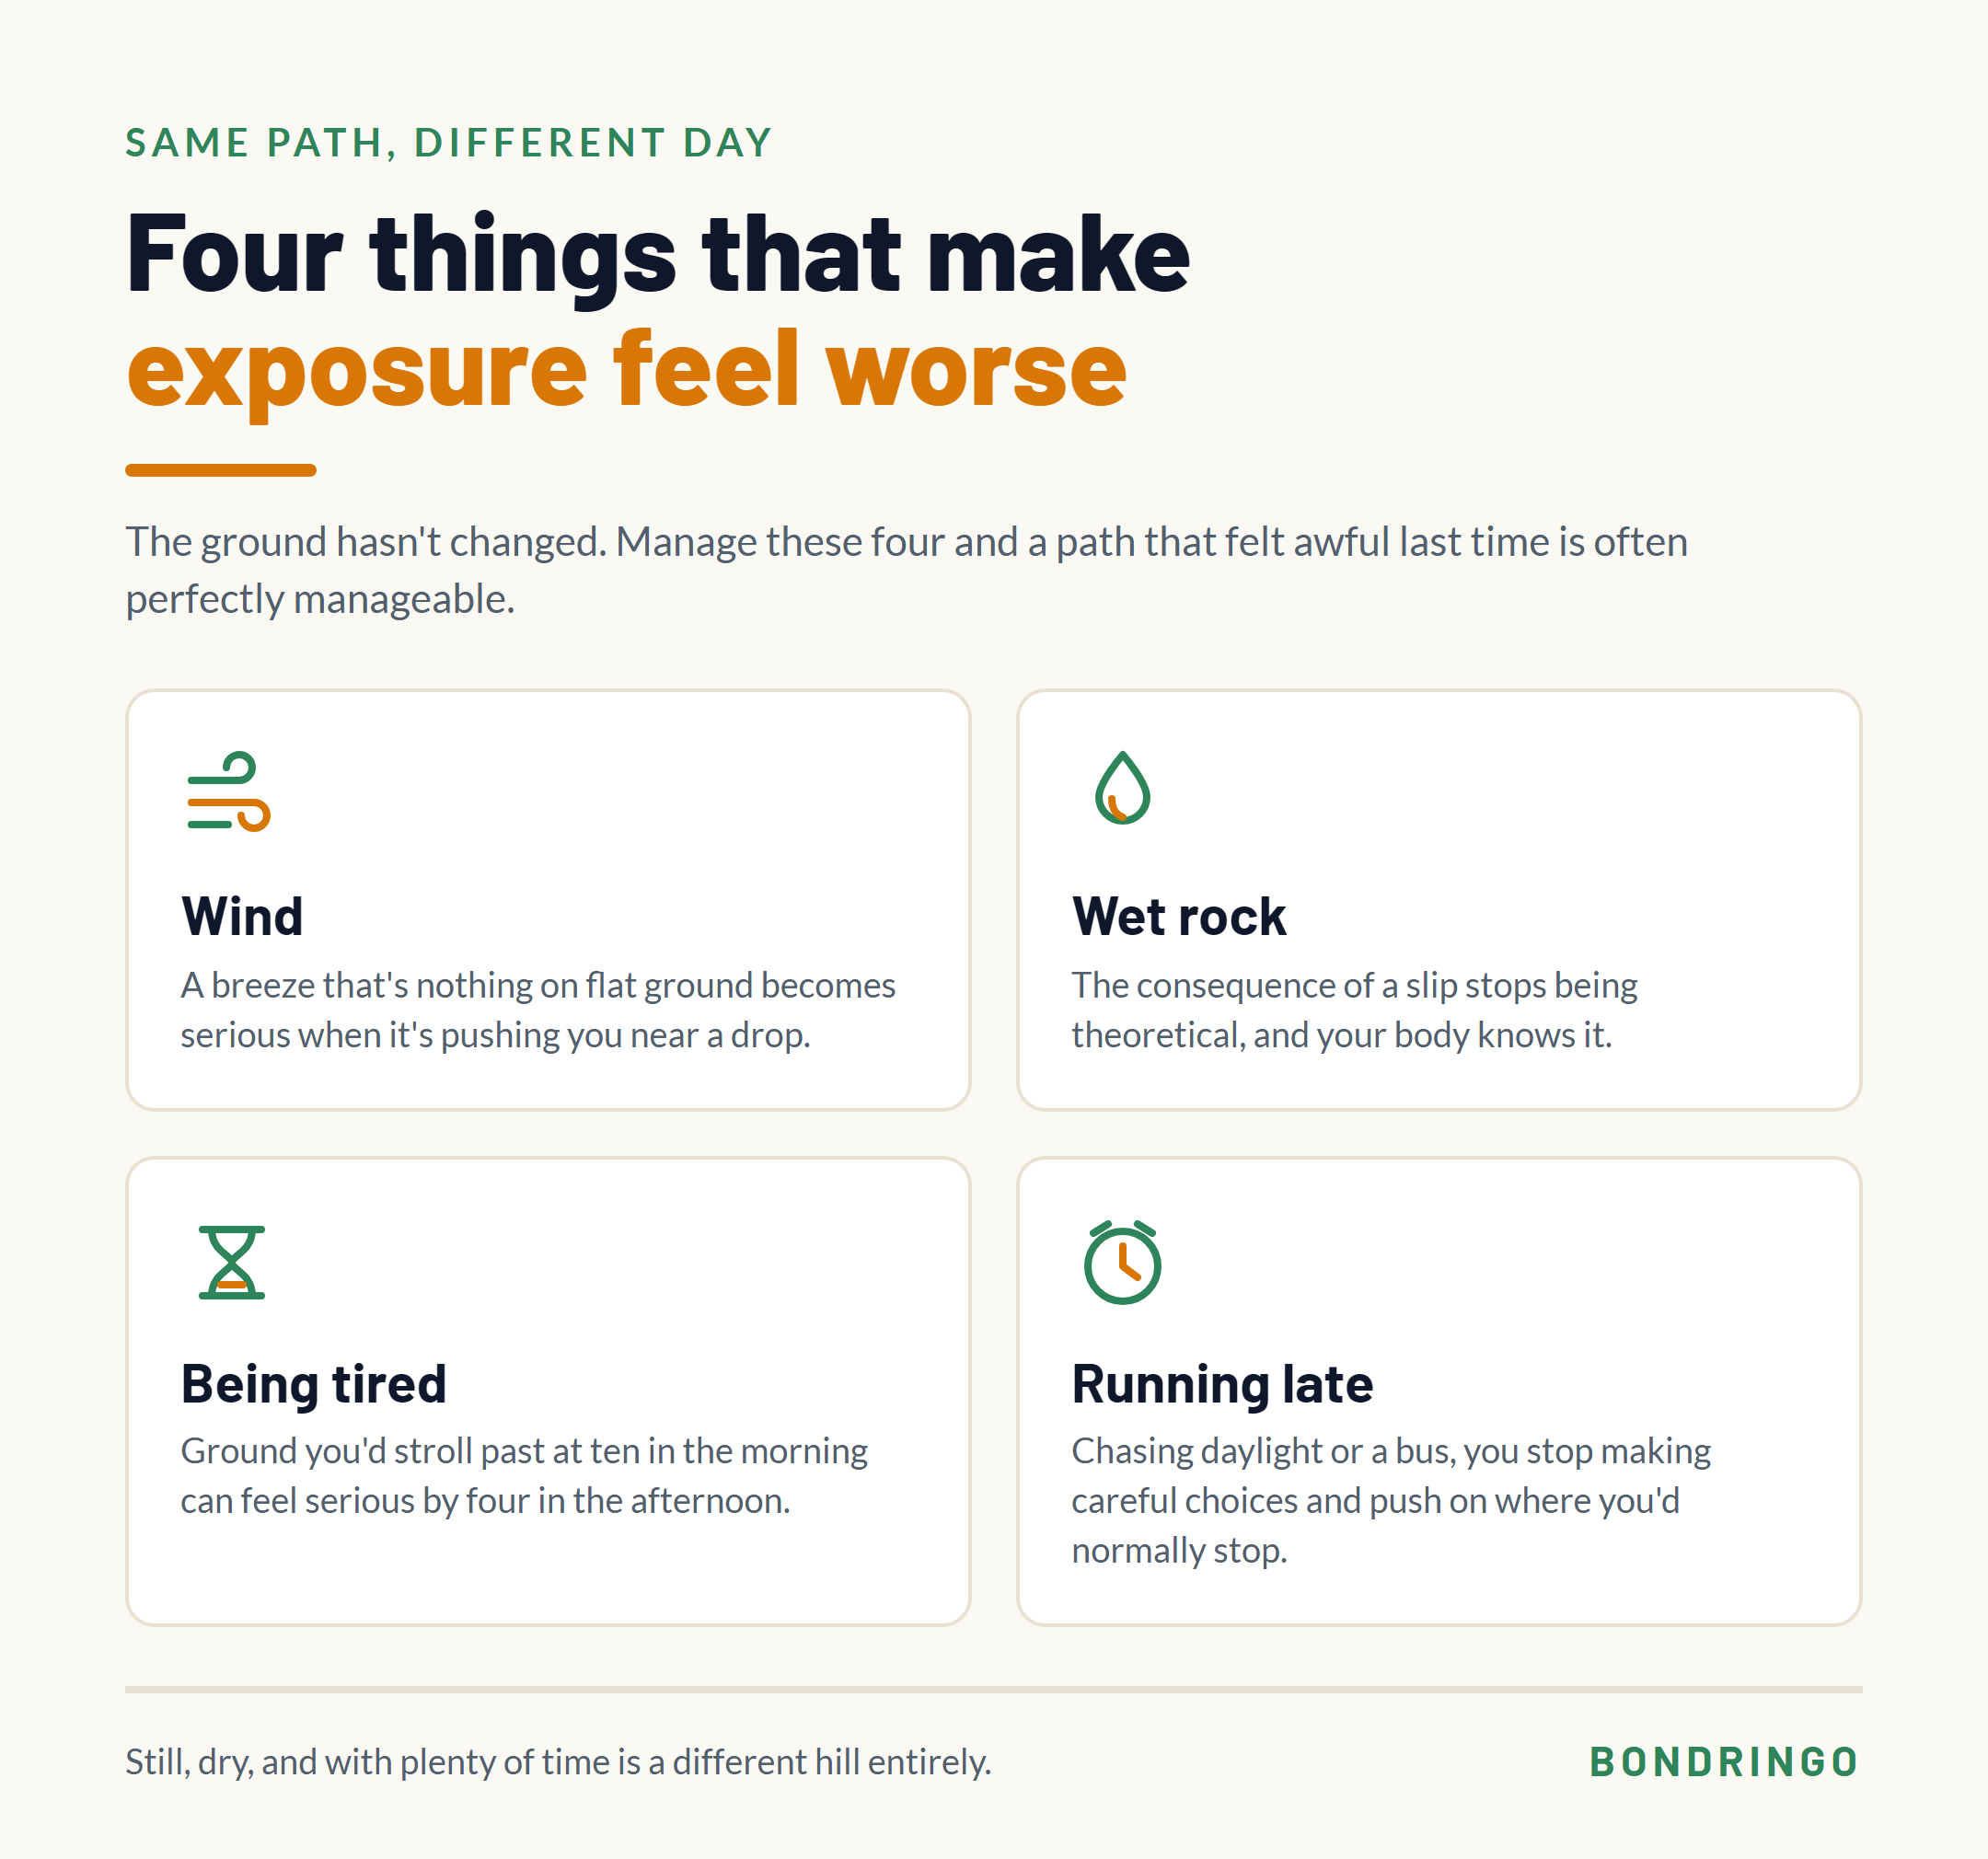
Wind is the big one. A breeze that’s a non-event on flat ground becomes genuinely unpleasant when it’s pushing you around near a drop.
Wet rock changes everything, because now the consequence of a slip feels real rather than theoretical.
Being tired removes your reserve. Ground you’d walk past without noticing at ten in the morning can feel serious at four in the afternoon.
Being late is the quiet one. When you’re rushing for daylight or a bus, you stop making careful choices and you push on where you’d normally stop and think.
Manage those four and the ground itself is often perfectly manageable.
How to Build Confidence Without Forcing It
A word on this, because the internet’s advice is usually some version of “just do it anyway”, which is rubbish.
Pushing hard through real fear tends to confirm the fear rather than cure it. What works better is small, deliberate steps on ground you’ve chosen properly.
Helping people through this is a decent part of my job, so let me be honest about what it usually takes. I’ve been out with people on ground that isn’t objectively exposed at all, where we’ve still ended up getting a confidence rope out so they could get past the bit that was stopping them. Not because they were likely to fall. Because having it there was what let them move.
That’s the part worth understanding. The fix is rarely bravery. It’s taking enough of the fear out of the situation that you can actually walk, and then doing it again somewhere slightly bigger. That’s how it builds.
If you haven’t got an instructor with you, you can do the same thing more slowly on your own. Start well inside your limit and move outwards in small steps.
Give yourself explicit permission to turn round. Decide before you set off that turning back is a perfectly good outcome, and mean it. Knowing you can stop makes it far easier to keep going.
Pick your day. Still, dry and clear, with plenty of time. Don’t test yourself in wind.
And go with someone who won’t make it a thing either way.
If your fear of heights is severe rather than mild, that’s a genuinely different situation, and it’s worth saying plainly that a well-chosen route may not be the whole answer. The British Mountaineering Council has sensible guidance on working with it rather than against it.
And here’s the bit I’d want you to take away most. There’s no obligation to get comfortable with exposure at all.
You’re out there to enjoy it. To get some air, look at something worth looking at, and have a good day. There’s no version of hill walking where you have to earn that by frightening yourself first.
Pushing yourself a bit is good, and plenty of people find their limit sits further out than they expected. But a day up a modest grassy hill with a view at the top is every bit as good as a day on a gnarly ridge. Anyone who tells you otherwise is describing their own preferences, not a rule.
The Skill Underneath All This
You may have noticed that everything above is really one skill wearing different hats. Reading the shape of the ground from a map, before you’re standing on it.
That skill does far more than help you dodge ridges. It’s how you judge whether a descent will be steep, whether a route will take longer than it looks, and where the ground will be boggy.
If you’d like to get properly confident with it, our guides to reading contour lines on an OS map and using a map and compass on the hill are the place to start.
What does “exposure” mean in hill walking?
Exposure describes ground where a slip would have serious consequences, because the slope immediately beside your path falls away steeply. It isn’t about altitude. A broad summit at 900 metres can feel completely comfortable, while a narrow path at 300 metres with a drop beside it can feel horrible. It’s determined by the shape of the ground around your route, which is exactly what a map shows you.
How can I tell if a walk is exposed before I go?
Read the contour lines either side of your route rather than just along it. Widely spaced contours beside the path mean gentle ground falling away. Tightly packed contours pressing in from both sides mean a ridge with drops on each flank. Also look for crag and scree symbols near your line, and check whether the path sits back from steep ground or along the top of it.
Which UK hills are best if you’re scared of heights?
Look for the shapes rather than a fixed list, but some good places to start are the Cheviots, the Howgill Fells, Dartmoor, Exmoor, the North York Moors and the Malvern Hills. In the Lakes, Skiddaw, Latrigg, Loughrigg and High Street have broad grassy tops, and in Snowdonia the Carneddau are rounded whalebacks rather than ridges. Valley and reservoir routes such as Ladybower or the Elan Valley keep the steep ground above you rather than beside you. Ranges vary a lot within themselves, so always check the specific route on the map before committing to it.
Is it normal to be scared of heights when hill walking?
Completely. A great many experienced walkers feel it, including plenty who never mention it. What varies is where each person’s threshold sits. The aim isn’t to eliminate the feeling, it’s to choose ground that stays comfortably below your threshold, then move that threshold gradually if you want to.
Should I push through my fear of heights?
Not by force. Pushing hard through real fear usually reinforces it. Small steps on carefully chosen ground work far better, along with picking a still, dry day, giving yourself plenty of time, and deciding in advance that turning back is a perfectly acceptable outcome. Working with an instructor can speed this up a lot, because techniques like a confidence rope take enough of the fear out of a situation that you can move through it. And it’s worth remembering there’s no obligation to get comfortable with exposure at all.
Can I avoid exposure completely and still climb hills?
Yes. Plenty of UK summits are reached entirely on broad, gentle ground, and a lot of the best days out involve no exposure whatsoever. Dramatic ridges get the photographs, but they’re a small fraction of what’s available. Once you can read terrain from the map, you’ll find far more of the country is open to you than you expected.
Start With the Map
The whole thing comes down to being able to look at a map and see the shape of the ground.
Our free Digital Safety Net course walks you through planning a walk properly from home, so you set off already knowing what the ground is going to do. It’s free and you can work through it at your own pace.
Have a go at this. Take a walk you’ve already done and enjoyed, find it on the map, and look at the contour spacing either side of the path. Then find a route you’ve avoided and do the same. Seeing the difference on paper, for ground you already have a feeling about, is the fastest way to make this click.
Ask any questions in the comments below.


